This webzone shows how to upload your Burrow characters into VRChat with Unity.
You'll be doing the uploading yourself instead of sending me your characters.
This allows for greater freedom, because you can upload your characters whenever you want,
and tweak them in ways my character creator can't.
🚨🚨🚨
If you haven't reached "new user" in VRChat yet you can't do this, play the game more to get this rank!
🚨🚨🚨
Get Unity (at time of writing, 2018.4.20, though this may have changed) and the VRChat Avatar SDK3 from here: https://docs.vrchat.com/docs/setting-up-the-sdk
It's important to get the correct SDK: make certain that you downloaded SDK3 - Avatars.
Open a new Unity project, import the SDK3 from VRChat, then import my SDK using the .unitypackage you got in the download.
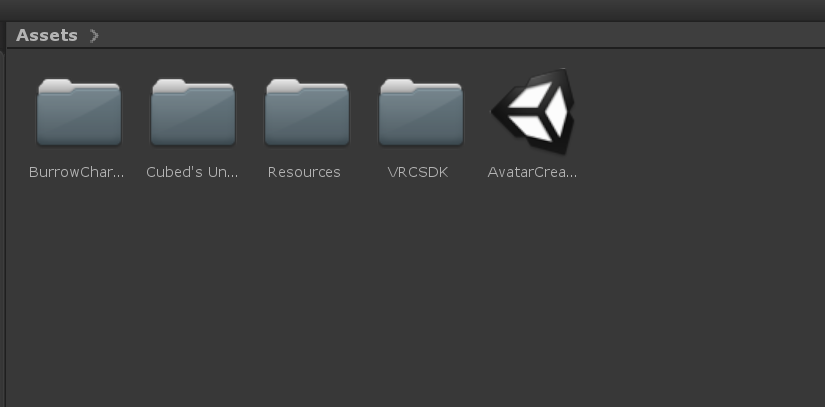
When all of that stuff is done, you should see a scene called "AvatarCreator" in the Assets panel near the bottom of the screen, you'll want to click on that.
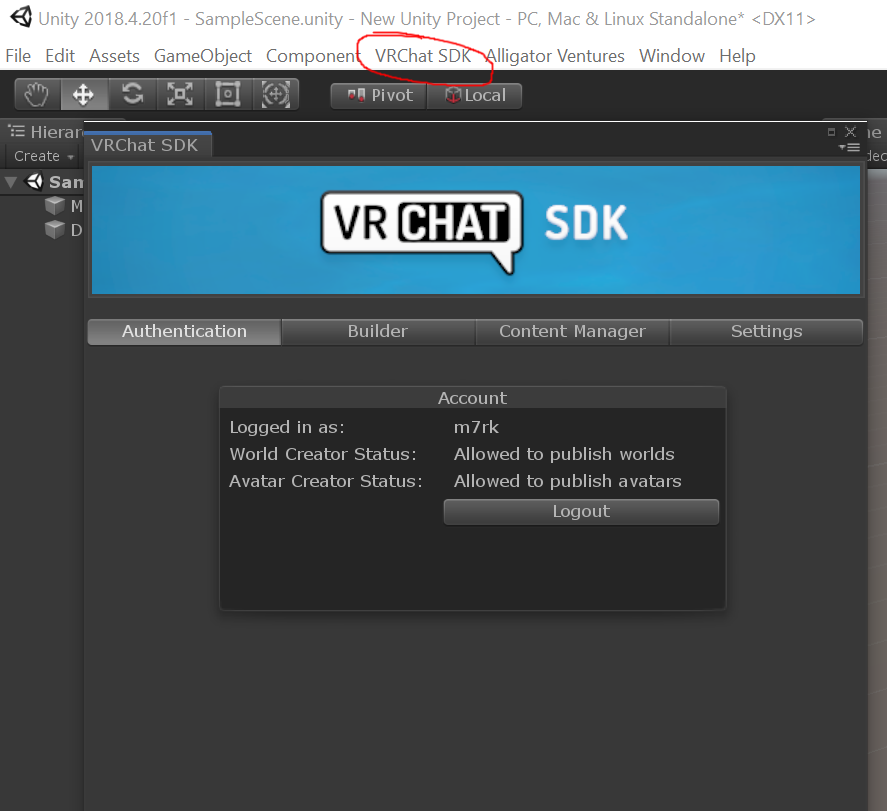
You'll see two menus in the top left corner. Select "VRChat SDK" -> "Control Panel" and log in
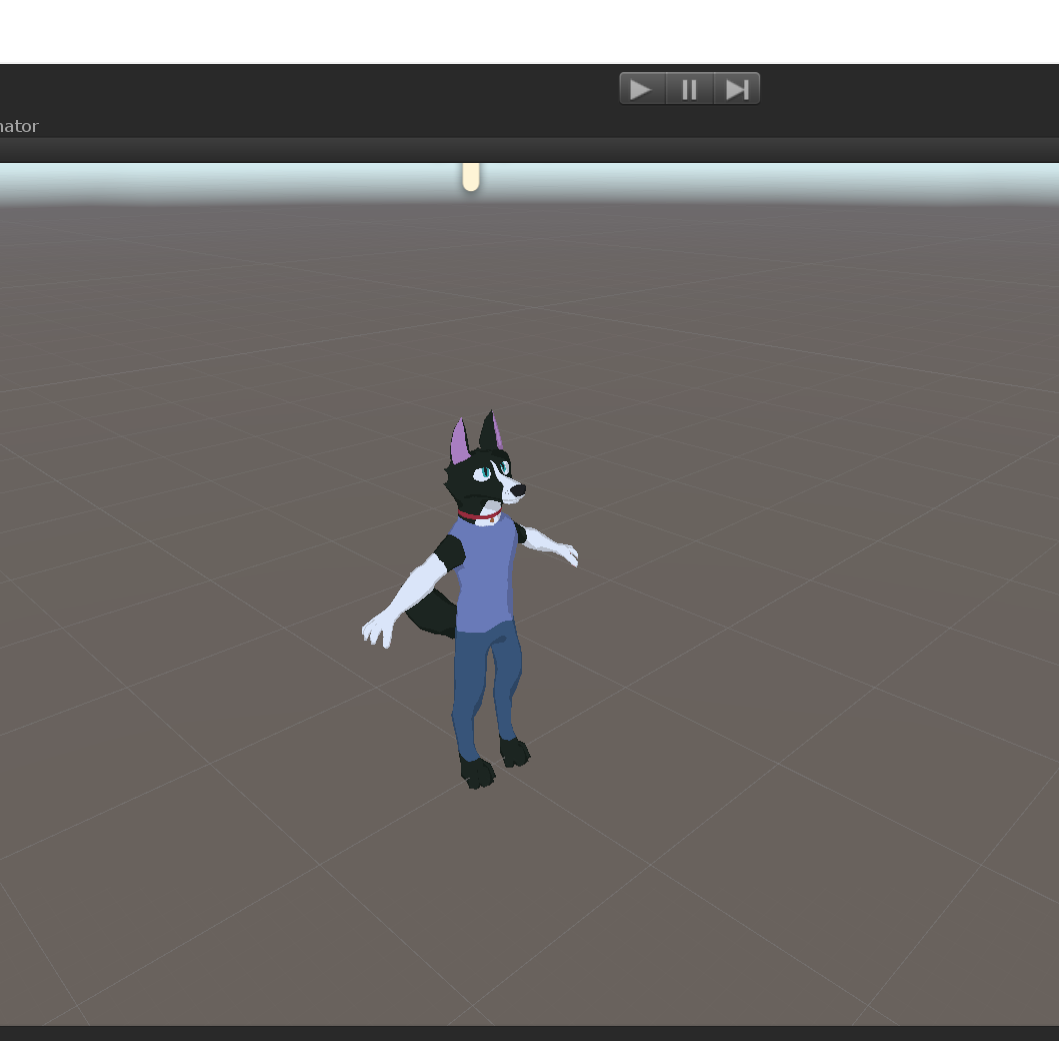
Close the VRChat SDK. Select "Alligator Ventures" -> "Import Burrow Character" and make your selection.

Your character should appear.
🚨🚨🚨
Quest Users! You have a bit more work to do in order to upload your avatars.
Start by going here to learn how to prepare unity for quest uploading.
Then, you need to click on the "body" object and change the shaders to "VRCHAT/Mobile/Toon Lit". You will also need to click on each feature that you've added to the base avatar (horns, feathers, floofs, etc) and change those too.
(Don't worry about any of this if you don't own an Oculus Quest)

🚨🚨🚨
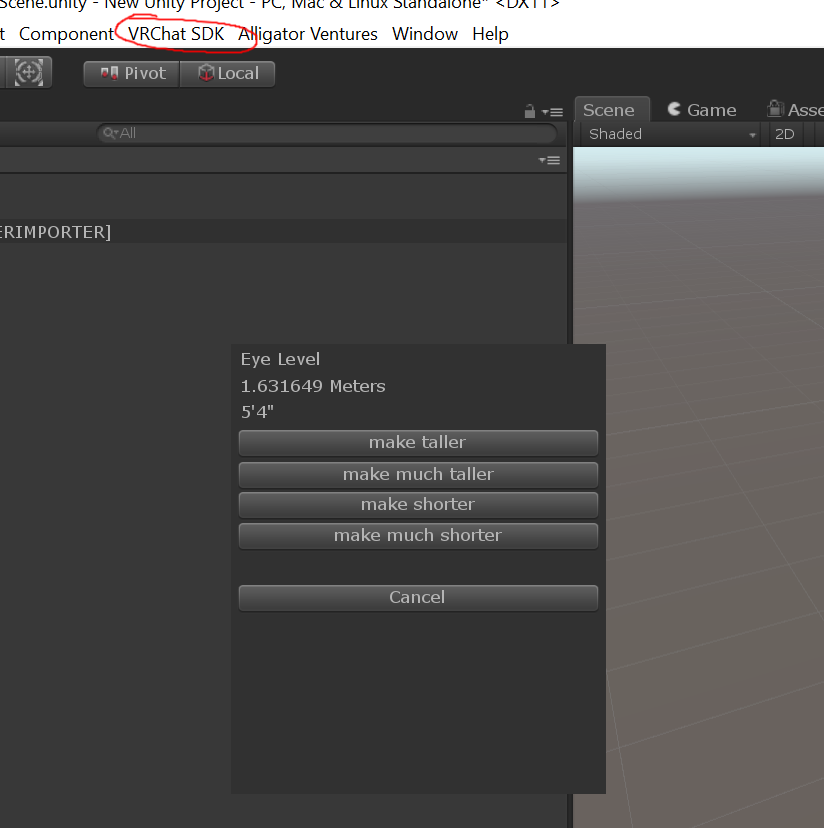
Select "Alligator Ventures" -> "Adjust Character Height". You can make your character taller or shorter.
The other option, "Alligator Ventures" -> "Set Background" will change the background that is used for your avatar's portrait during upload.
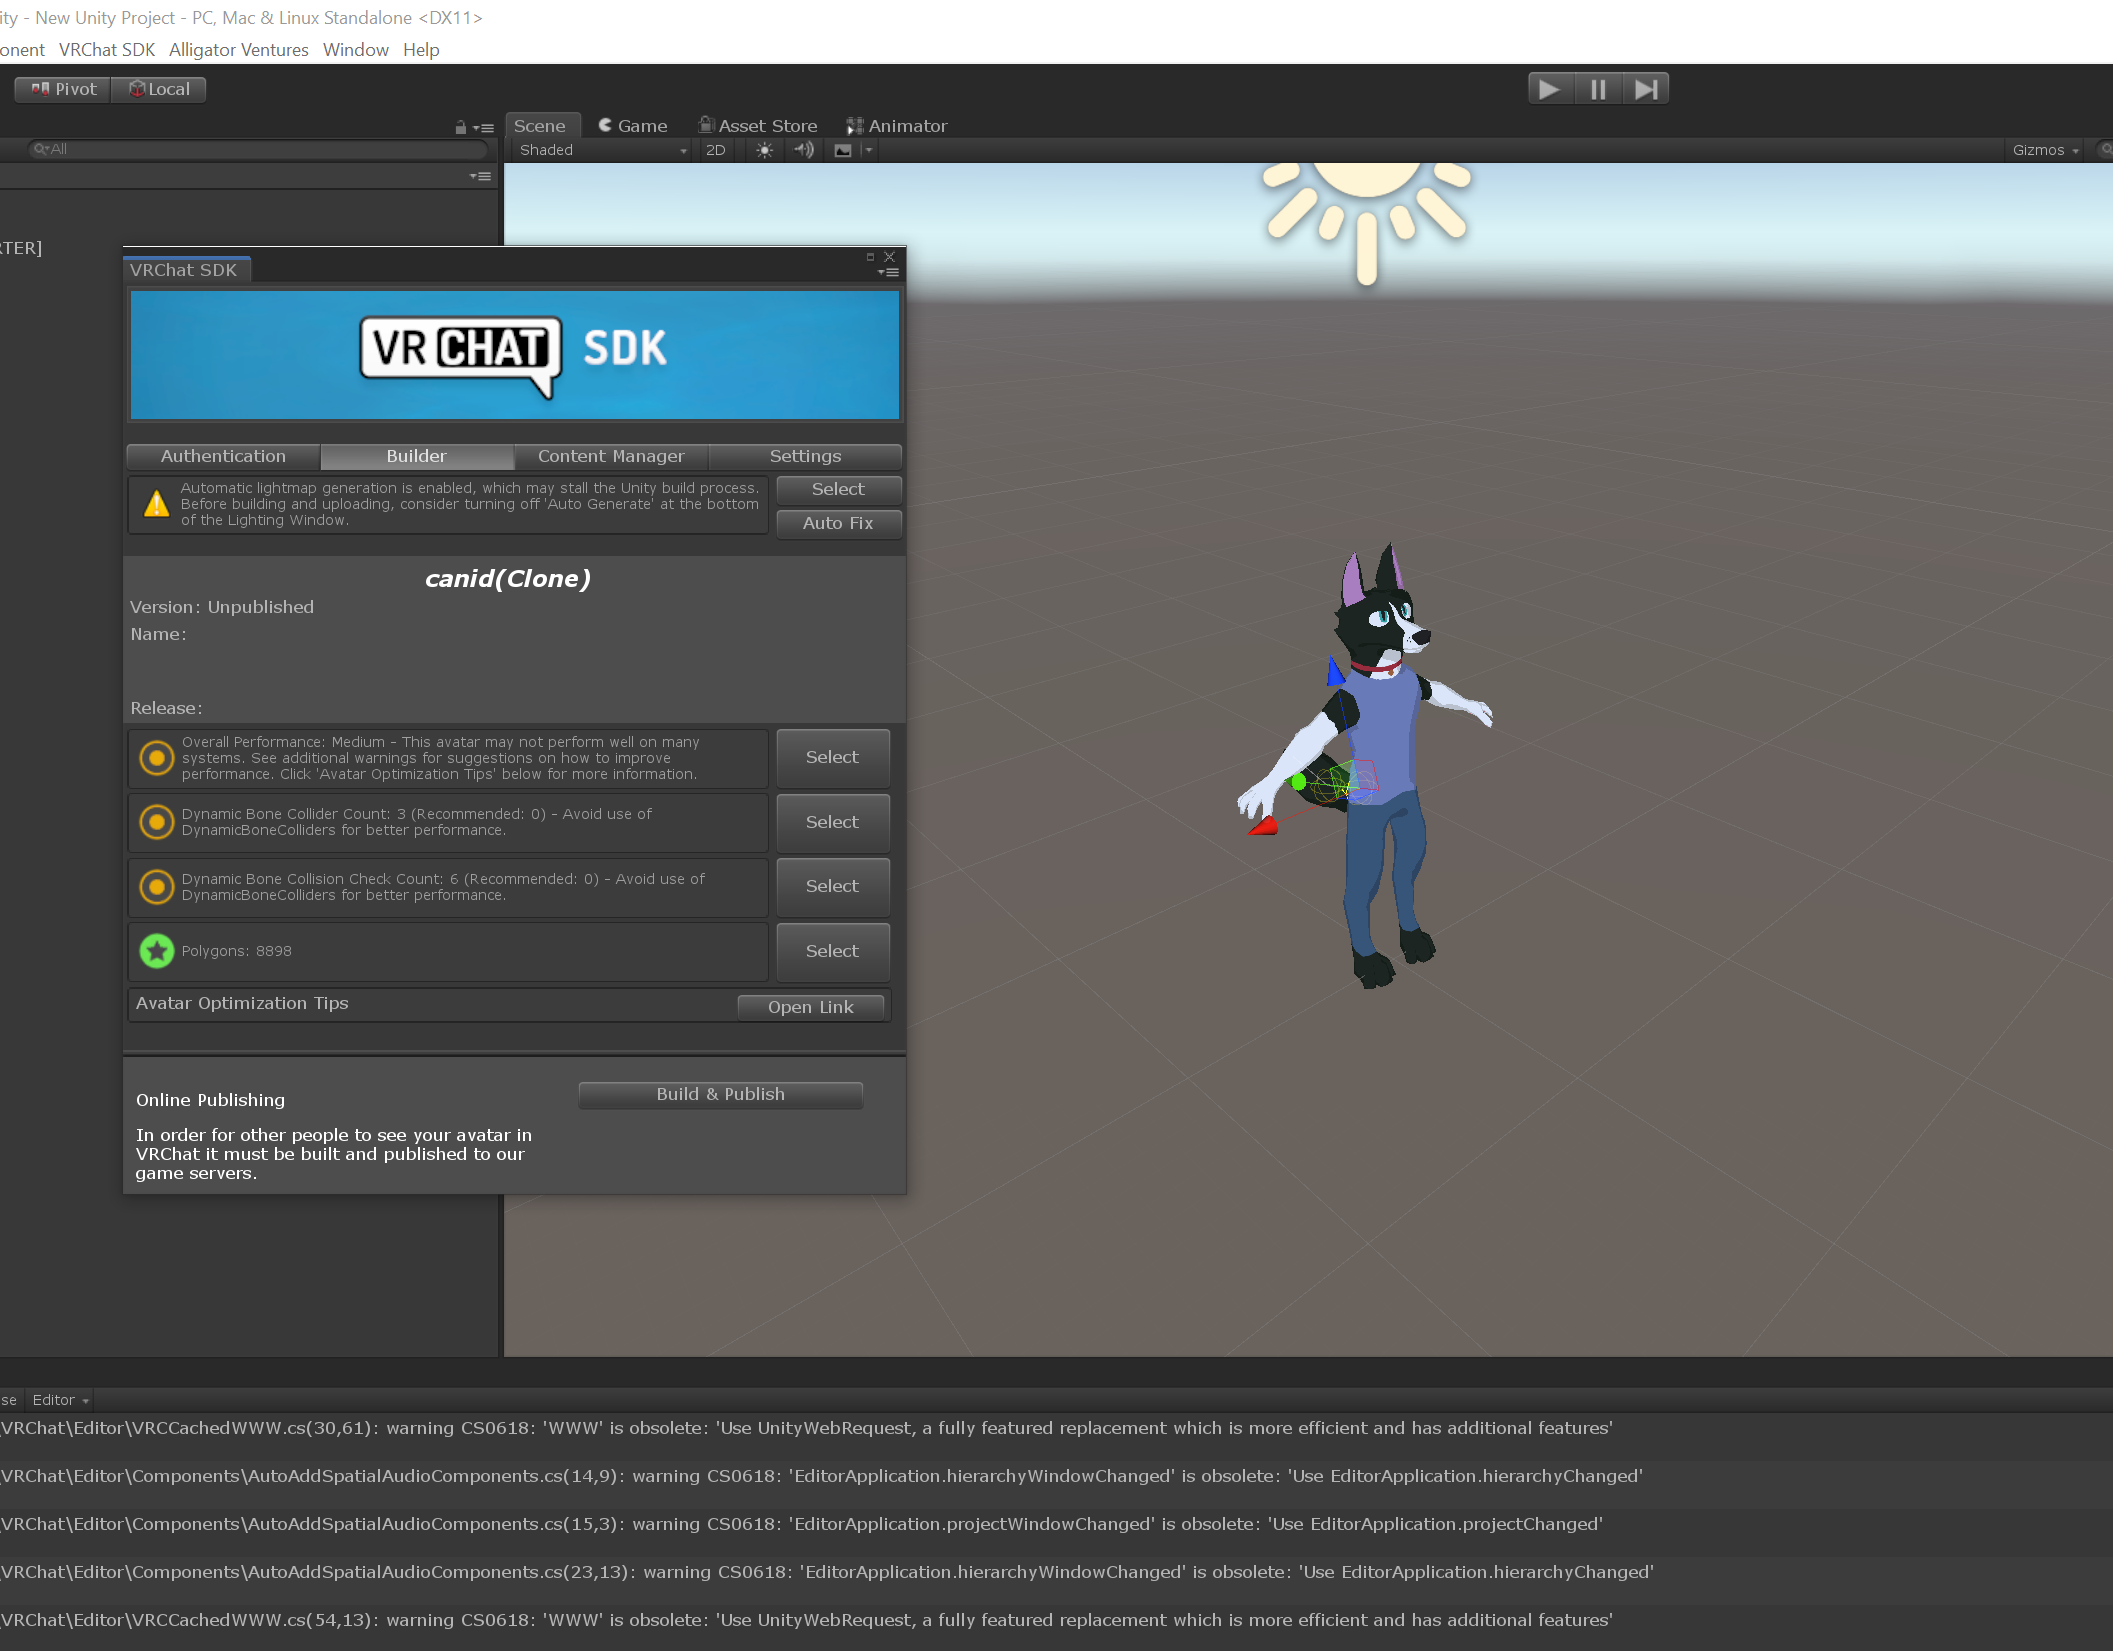
Select "VRChat SDK" -> "Control Panel" and go to the "Builder" tab. Select "Build And Publish"
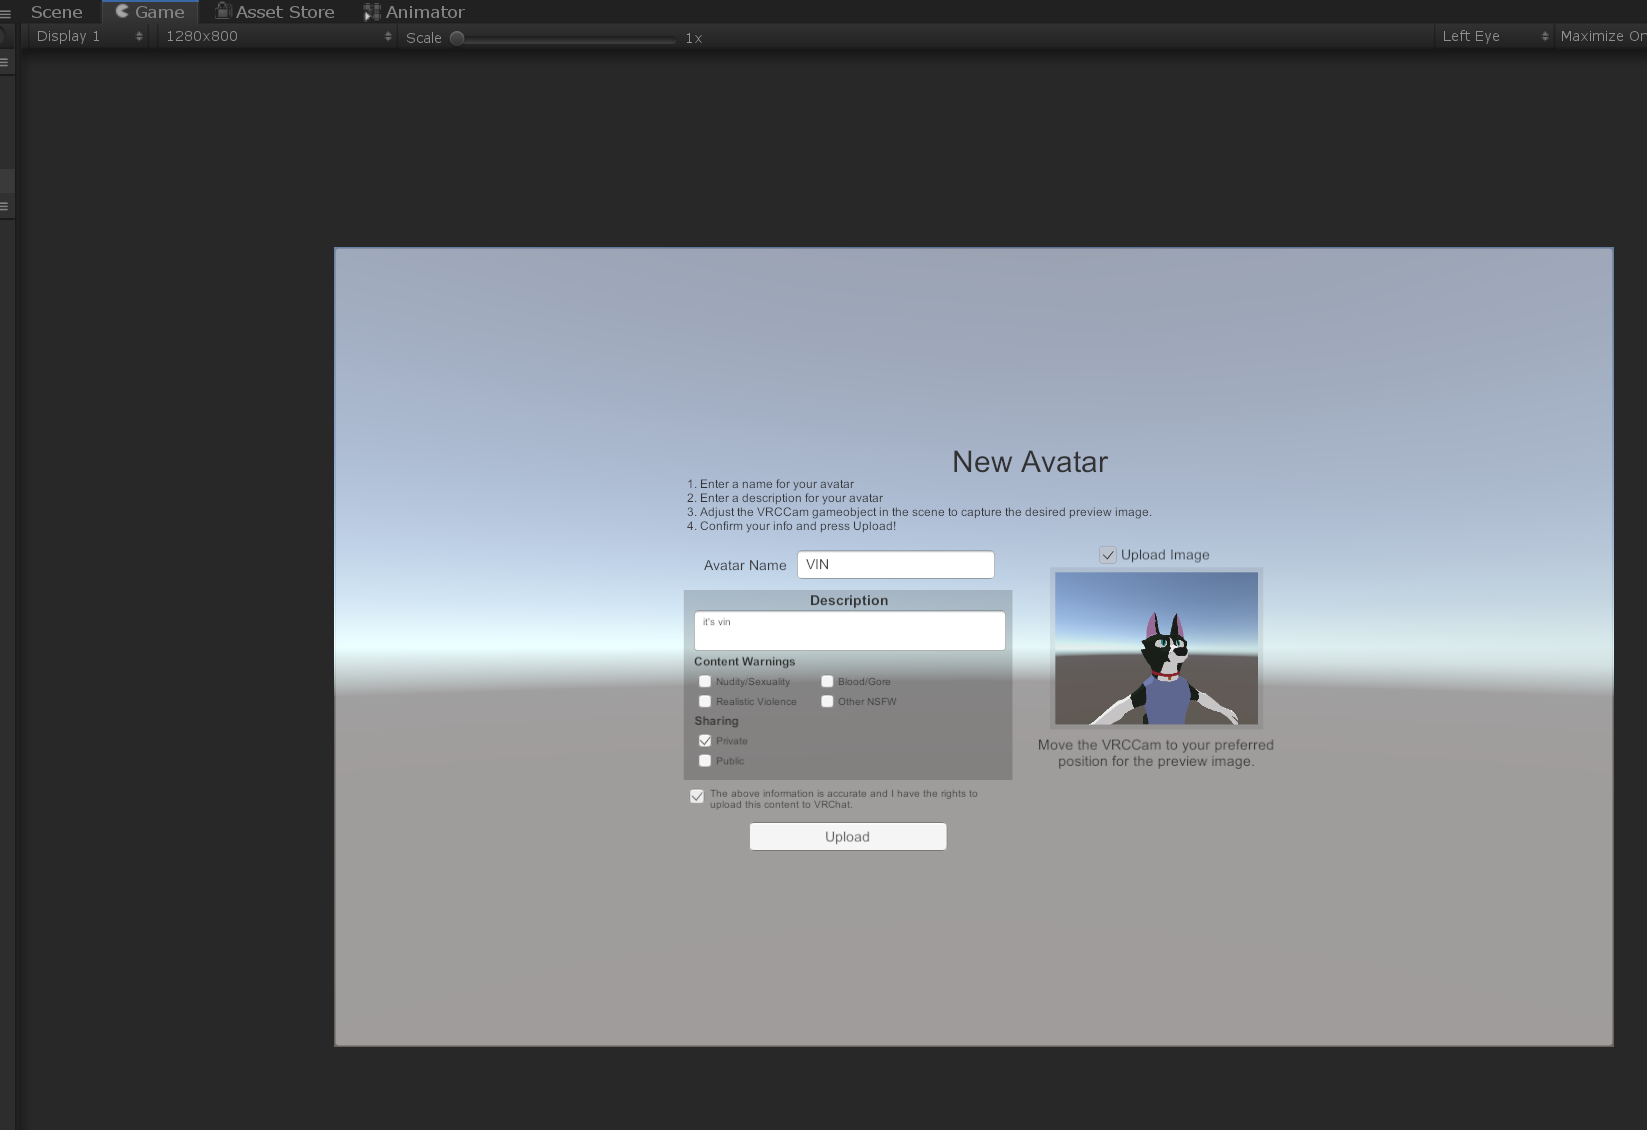
Fill your avatar name and information. Then press upload.
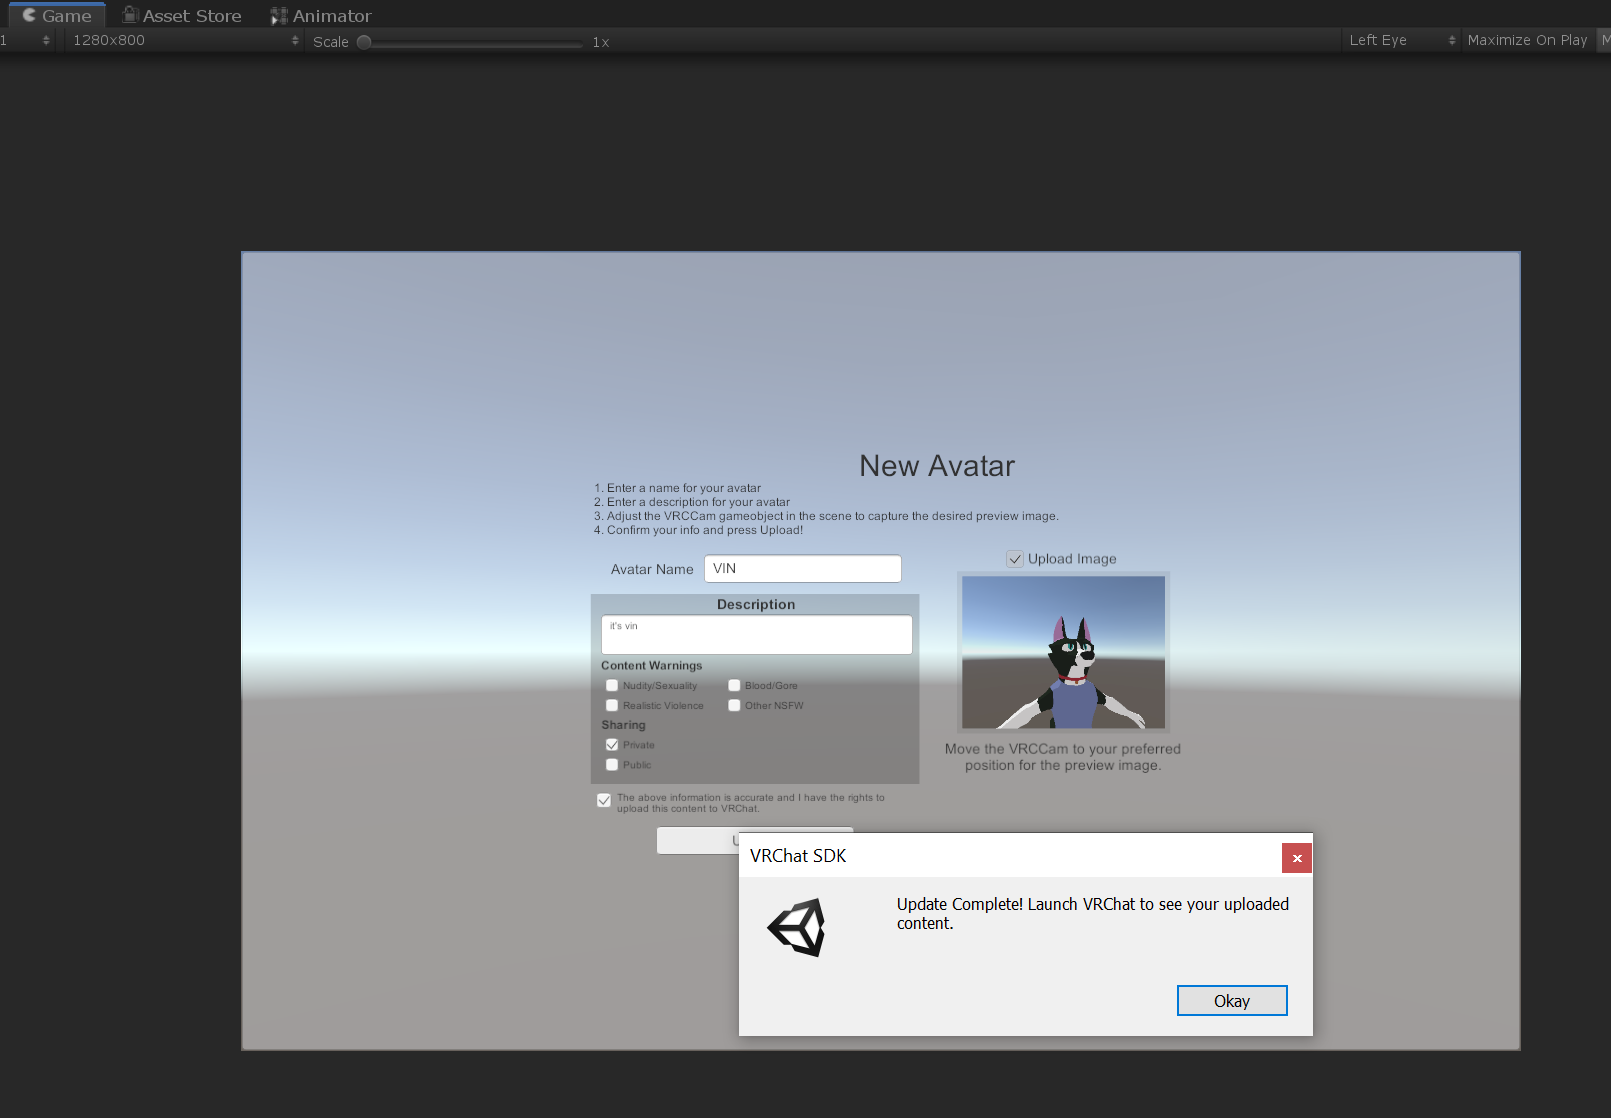
That's it! Now your avatar should show up under your account.
 Back
Back